
It's zippers (all 7 of them) are perfectly inserted. Look at that sleeve zipper and the gusset !
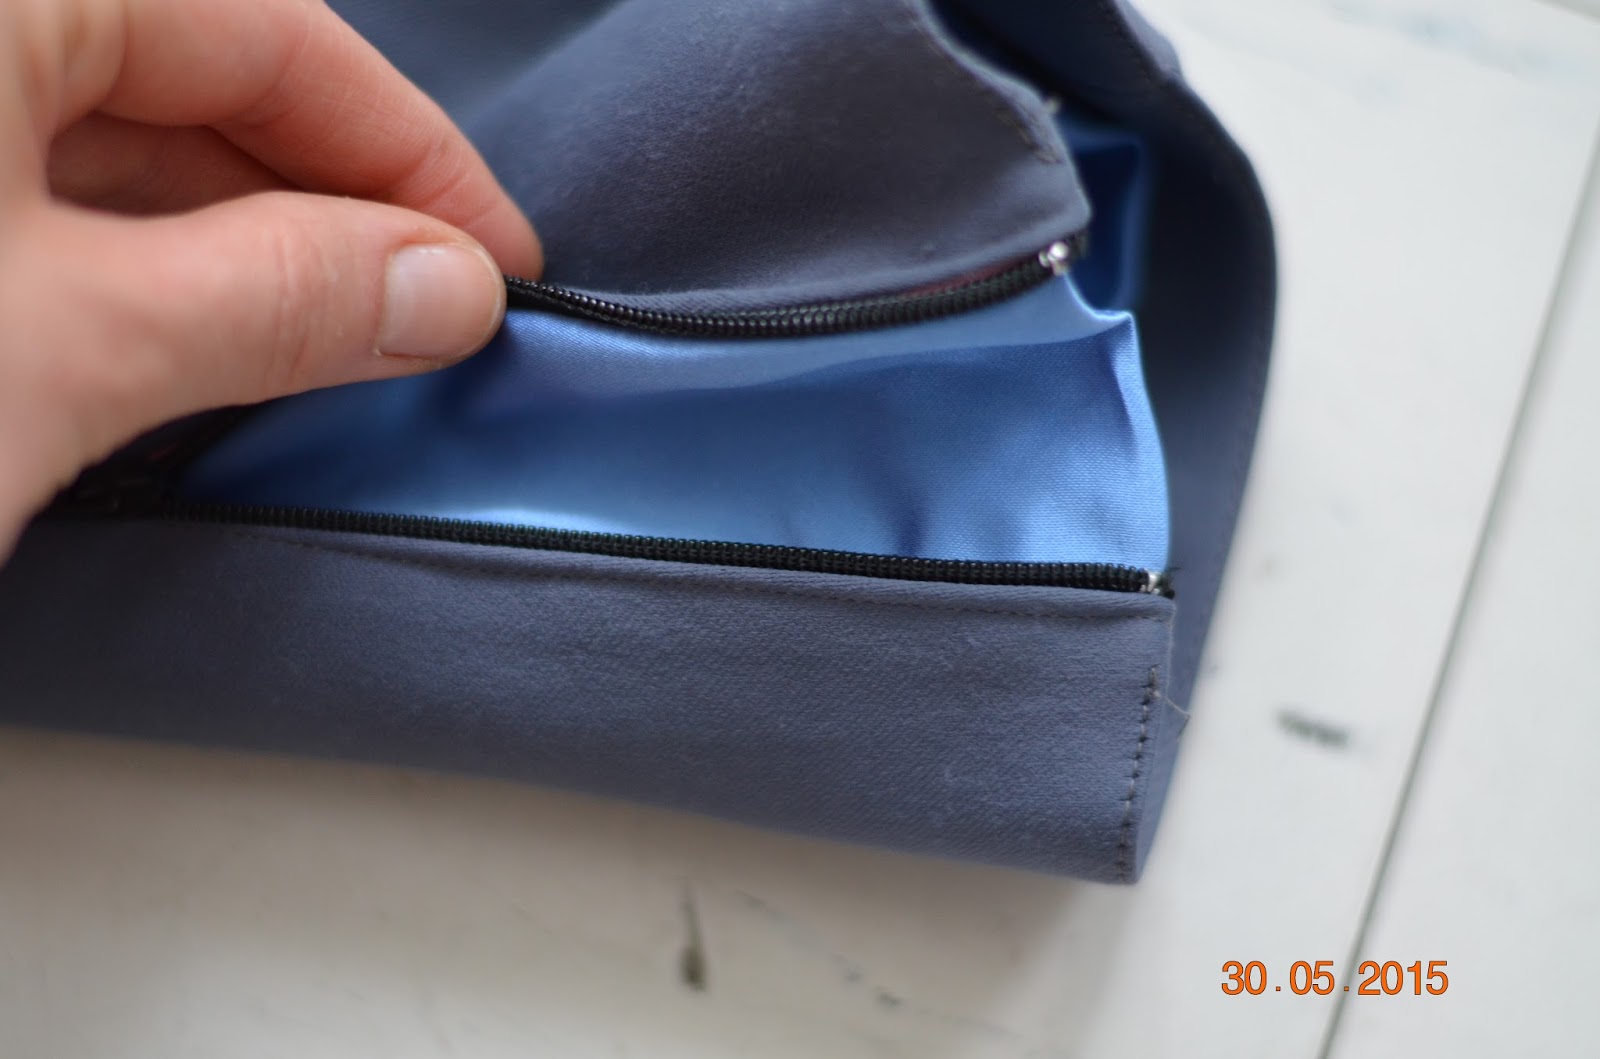
The lining is correctly bagged.

I'm almost giddy to have been able to sew that and it is the big boost of confidence that my sewing life really needed.

Not to worry, I'm not gonna carry on with the boast cuz there's a big BUT, and I'll come to it later.

But for now lets say that I had a lot of help with this Motor City Express pattern as it's a course from Craftsy and Janet Pray herself takes you by the hand every step of the pattern.

There still was a little bit of procrastination on my part as I do every time I'm sewing something new. For exemple, it was my first time shortening a zipper and I waited a week before getting on with it. It was misplaced fear as it's really easy to do actually, now I know.

Apart from temporarily paralyzing (for me) new technics, sewing the jacket was pretty quick. It's mostly due to Janet's "sew faster" technics. For exemple, she doesn't use pins, but handle the material a certain way that makes the sewing accurate without the pins.
Janet also makes sure you understand how the feeding dog works so that you can use it to your advantage.

Cutting the pattern (no, I'm not tracing the pestering patterns any more) and then the fabric (with the lining and the interlining ) took the longest. There are a lot of pieces to cut and the cut needs to be precise so that the lining can be bagged without trouble and everything looks professional (Janet is big on that).

So, what went wrong?, would you ask me if you hanged on and are still reading at this point.
Well, being cheap and not confident enough to splurge on nice fabric, I chose to sew an upholstery soft curtain fabric that pills and breaks at the mere touch of hard surface like say, my bag straps or any wall I could lean on .

The damages don't show well on pictures, but they're here and I'd be fortunate if this jacket last me till the end of summer.
So, that is how I add to my list of sewing resolutions the careful choice of good fabric.
To end this post, a random pictures taken in my parents' garden with my dad hard at work.


